
NOTE: the account team member role is required to create a class.
Click Classes on the left main navigation, then + Add Class.
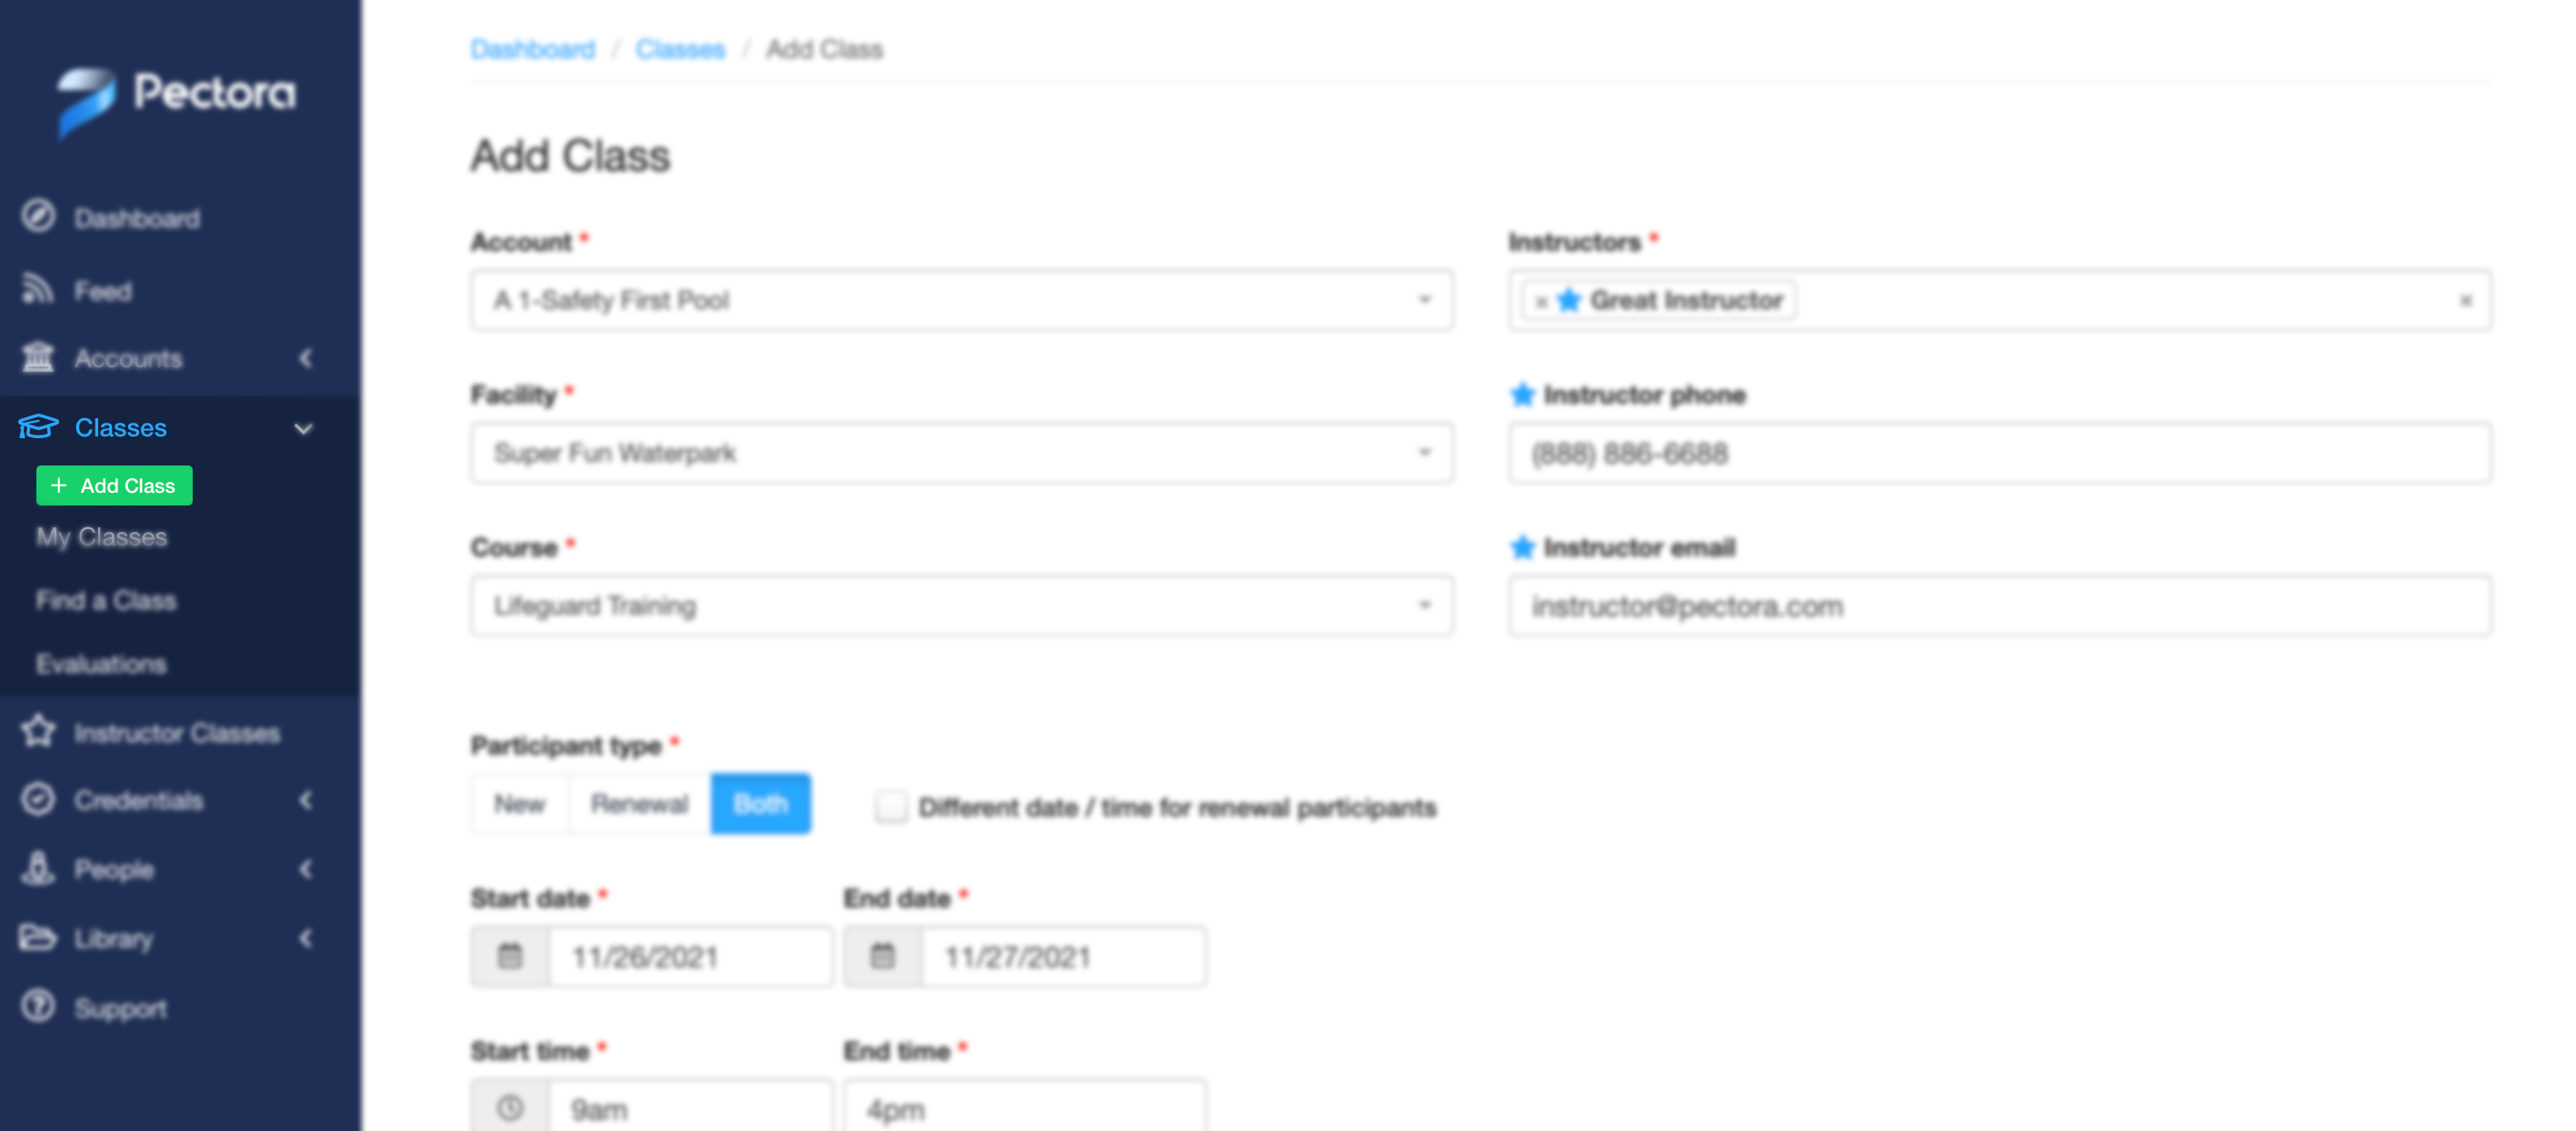
Next, complete the following class information:
- Select the Account, Facility and Course
- Add Instructors
- Select if the class is for new participants, renewal, or both
- If both, you have the ability to place a different time for renewals
- Start and end date and time
- Review the Landing page and Sign up settings for class participants
Note: The "Landing page" provides participants with class details and course materials. Enrollment notifications (sms and email) include a link to this page. Disabling the Landing page prevents these notifications from being sent. The "Log in / Sign up" options controls the appearance and functionality of the Landing page. If set to "required", course materials are hidden until the participant logs in or signs up. If set to "disabled", class information and course materials are shown but the log in / sign up form is not.
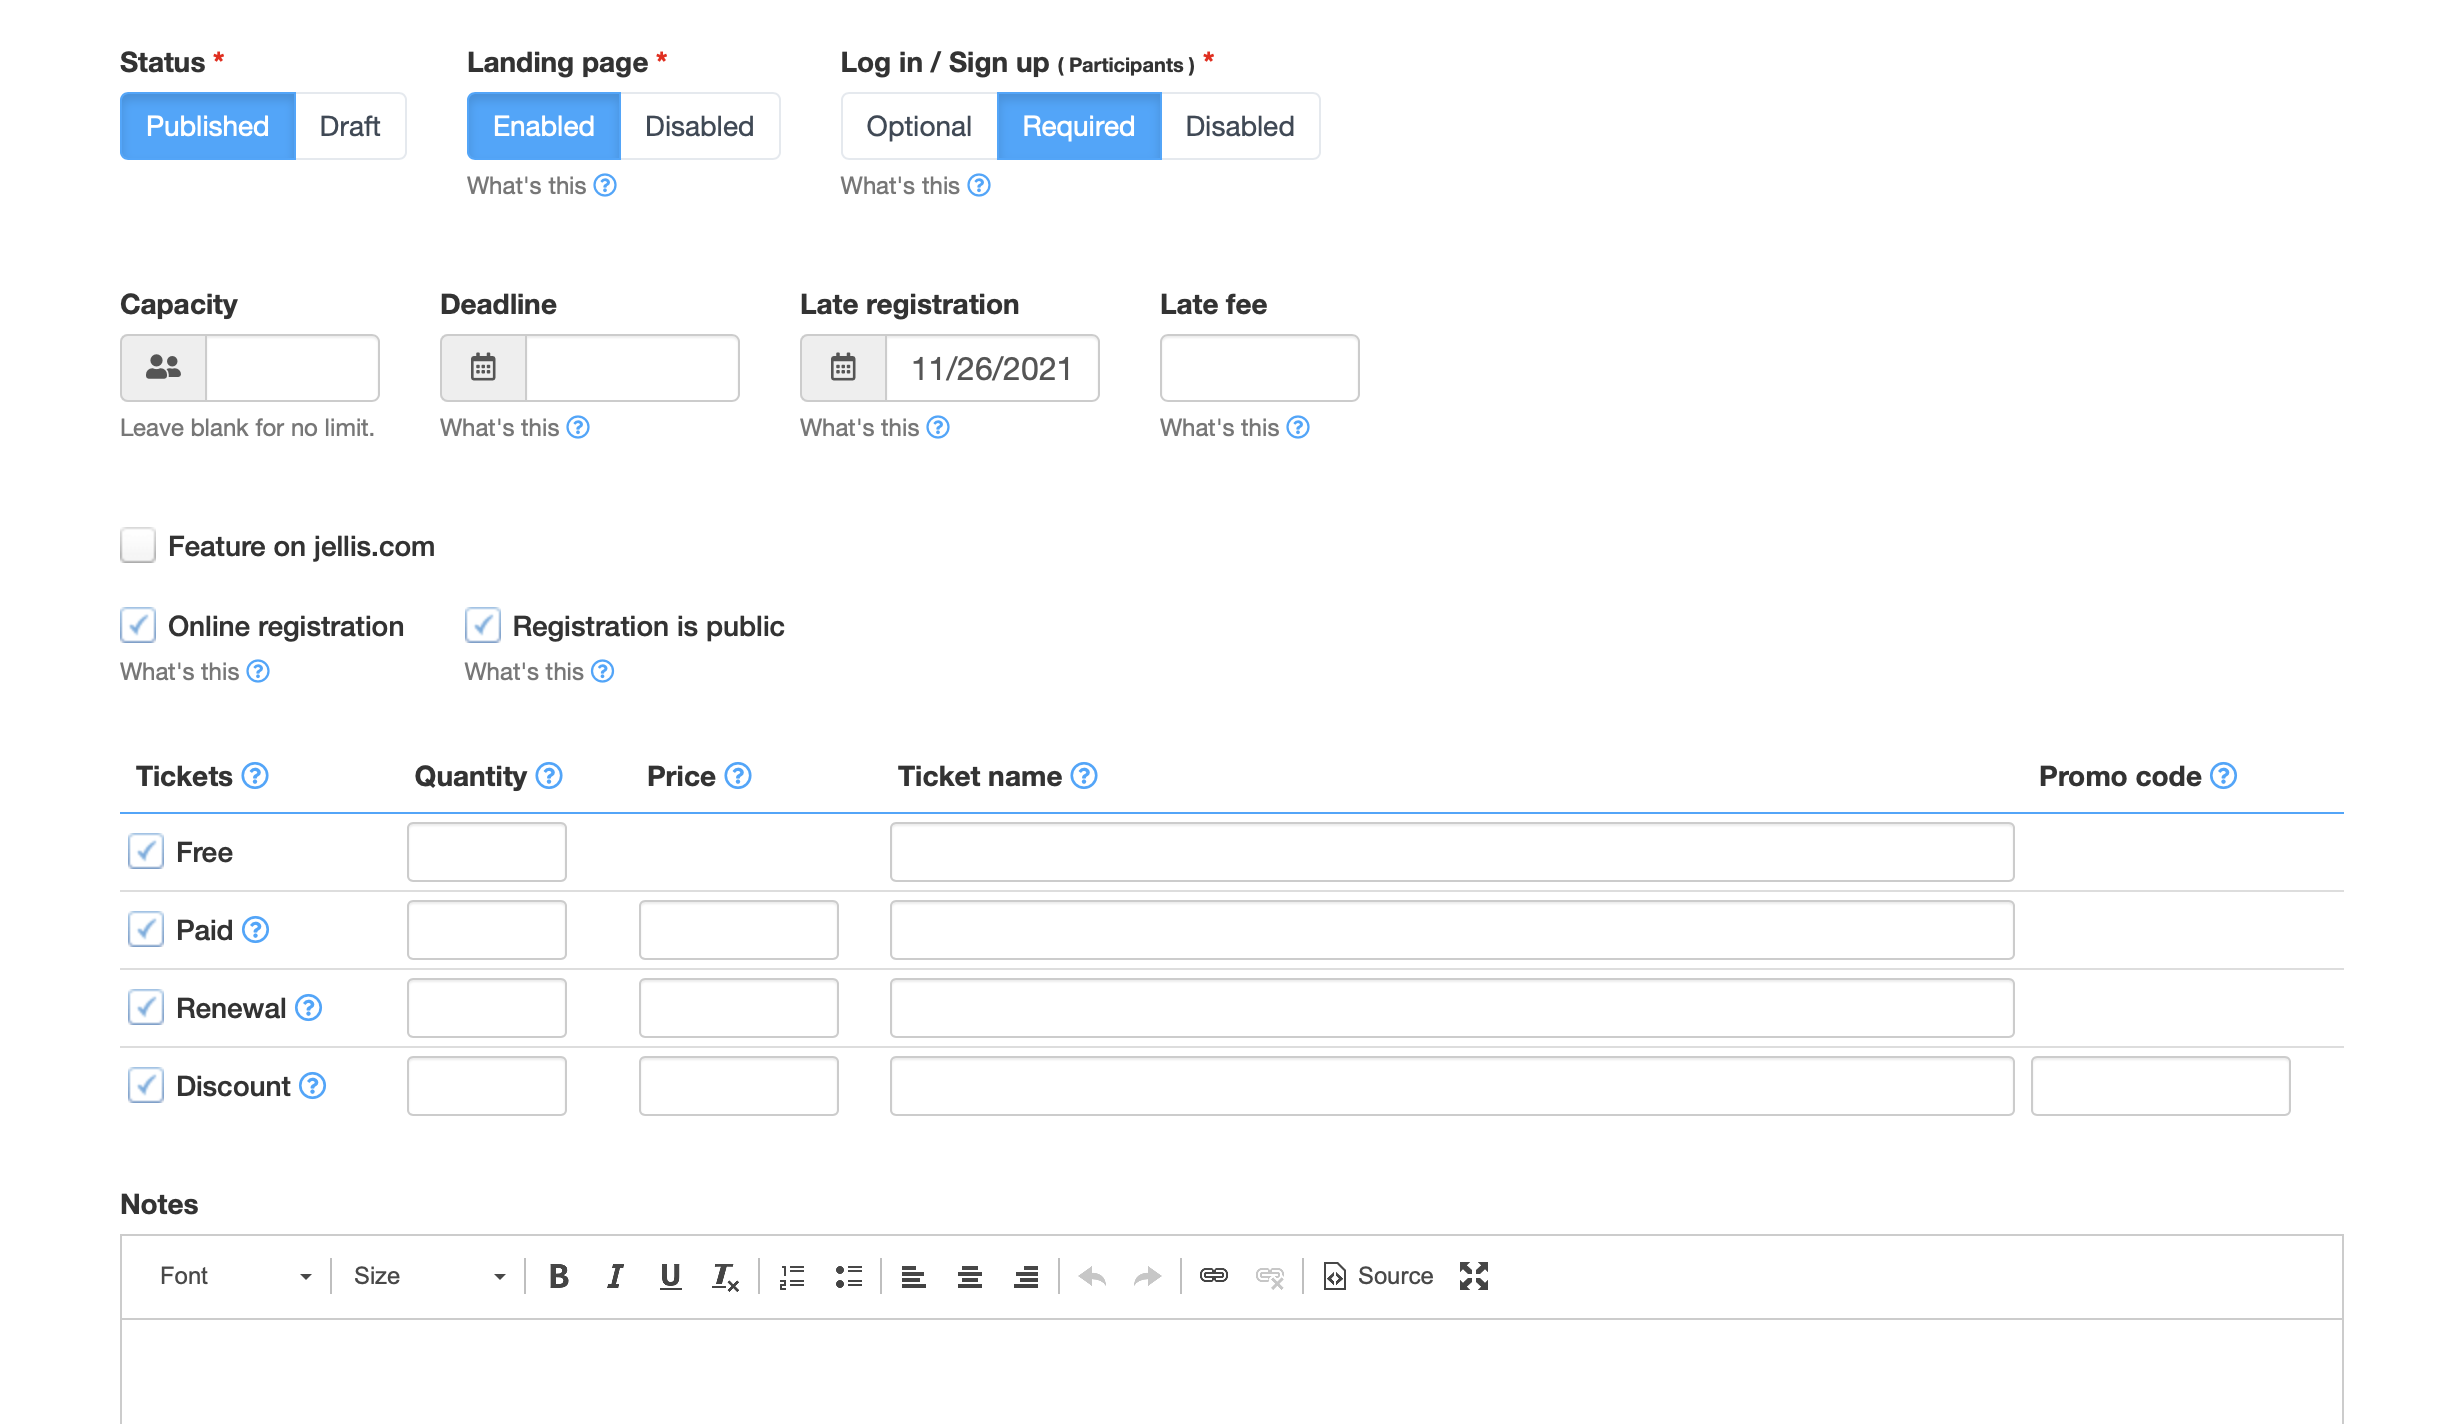
- Optionally enter Capacity
- Note: If a capacity is set and "Online registration" is checked, registrations will stop being accepted when the capacity is reached.
- Optionally enter Late registration date and Late fee
- Note: If you are selling registration tickets and the Late registration date has past, the late fee will be added to the price of each ticket type.
- Optionally enter Deadline date
- Note: If "Online registration" is checked, this is the cutoff date registrations are accepting.
- Optionally enable Online registration and decide if Registration is public
- Note: If "Online registration" is checked and your Account has Stripe Connect configured, you can select the available ticket types and assign them a price. If "Registration is public" is checked, the class will be showcased on the Find a Class page.
- Optionally enter class notes
- Note: The notes are shown on the Landing page and included in enrollment emails.
Click Save.
Comments
0 comments
Article is closed for comments.